1.Head
0 / 14 rounds done
Stitch count by round
6 → 30 → 6 sts
Crochet stitch diagram
Standard crochet chart symbols for this round — read clockwise from the top.
Written order
6 sc in MR (6)
×6
Symbol key
- MR
- sc

Intermediate · Free
A cute 7" amigurumi owl sachet worked in DK weight yarn with a removable lavender drawstring pouch. Includes a tiny removable sleeping mask that doubles as a hanging loop — exterior washable, pouch removable for dried lavender.
Techniques
Make path
Follow the path from the first piece to the finished project. Tap a step to jump to that section.
Crocheted components
Details & finishing
Each numbered piece is crocheted separately, then joined into the finished make.
Suggested colors
Colors shown are suggestions — use any yarn colors you prefer.
Visual steps
Use the collage with the make path — each panel maps to a stage of this pattern.
Before you start
All pieces stack in order. Switch dashboard, one-by-one, or full list — saved on this device.
0 / 14 rounds done
Stitch count by round
6 → 30 → 6 sts
Crochet stitch diagram
Standard crochet chart symbols for this round — read clockwise from the top.
Written order
6 sc in MR (6)
Symbol key
0 / 14 rounds done
Stitch count by round
6 → 36 → 6 sts
Crochet stitch diagram
Standard crochet chart symbols for this round — read clockwise from the top.
Written order
6 sc in MR (6)
Symbol key
0 / 7 rounds done
Stitch count by round
6 → 18 → 6 sts
Crochet stitch diagram
Standard crochet chart symbols for this round — read clockwise from the top.
Written order
6 sc in MR (6)
Symbol key
0 / 4 rounds done
0 / 2 pieces made
Stitch count by round
6 → 12 → 12 → 12 sts
Crochet stitch diagram
Standard crochet chart symbols for this round — read clockwise from the top.
Written order
6 sc in MR (6)
Symbol key
0 / 3 rounds done
Stitch count by row
3 → 2 → 1 sts
Crochet stitch diagram
Flat row chart with standard crochet symbols — read left to right.
Row 1 · left → right
3 sts
ch ×4
sc ×3
Written order
ch 4, sc across (3) — foundation row
Symbol key
0 / 4 rounds done
0 / 2 pieces made
Stitch count by round
4 → 8 → 8 → 4 sts
Crochet stitch diagram
Standard crochet chart symbols for this round — read clockwise from the top.
Written order
4 sc in MR (4)
Symbol key
0 / 7 rounds done
Details on this piece
Drawstring
Stitch count by round
6 → 18 sts
Crochet stitch diagram
Standard crochet chart symbols for this round — read clockwise from the top.
Written order
6 sc in MR (6)
Symbol key
0 / 4 rounds done
Details on this piece
Hanging loop
Stitch count by row
12 sts each
Crochet stitch diagram
Flat row chart with standard crochet symbols — read left to right.
Row 1 · left → right
12 sts
ch ×13
sc ×12
Written order
ch 13, sc across (12) — foundation row
Symbol key
Place the body and head ready for joining. If you worked head and body separately, stuff both firmly but leave an opening large enough to insert the lavender pouch.
Insert the filled removable lavender pouch into the body. If using loose dried herbs, place a small fabric circle between pouch and stuffing first.
Align the head opening to the body opening. With right sides together, whipstitch or use mattress stitch around the opening to join head to body invisibly. Stuff more if needed before final stitches.
Sew the belly appliqué centered on the front lower chest with matching thread: baste with small whipstitches around the edge so it sits flat.
Position and sew wings to the sides of the body, slightly angled toward the front. Anchor with several secure stitches.
Sew the beak centered above the belly (under where the mask may sit); secure with several stitches.
Sew ear tufts to top corners of head. Make sure both are symmetrical and firmly attached.
If using safety eyes, ensure they were installed before assembly. If embroidering eyes, do so now using secure stitches and weave ends inside.
fasten off; leave long tail for sewing and attaching to body or for closing when assembling
Place 8–10 mm safety eyes between head rounds 7 and 8, approximately 6–8 stitches apart; or embroider closed sleepy eyes using black floss after assembly
If using safety eyes, install before stuffing the head and securing the opening. For embroidered eyes, mark placement and embroider after sewing head and body together or before stuffing as preferred.
Assemble pieces and sew together
See detailed assembly steps in Assembly section.
Weave in all ends securely with a yarn needle. Trim excess tails.
Hide any remaining knots inside the body or head where possible.
Attach sleeping mask with a small snap at two points or tuck the back edge under the beak and secure with a removable stitch so it can be taken off to reveal the face. The chain loop can be used to hang the owl as a sachet or ornament.
If you added loose lavender to the pouch, close the drawstring and tuck the pouch inside the body. Replace pouch as needed for refreshing scent.
Give a final fluff and shape the owl. Check all attachments to ensure they are secure, especially if the item will be handled by children.

Cute structured crossbody purse crocheted in DK-weight cotton-blend yarn with a blush→peach→cream ombré panel and embroidered sleepy llama face. Includes a removable tassel-pompom saddle, inner snap coin pocket, lightweight cotton lining instructions, and hardware notes for a polished finish.
View pattern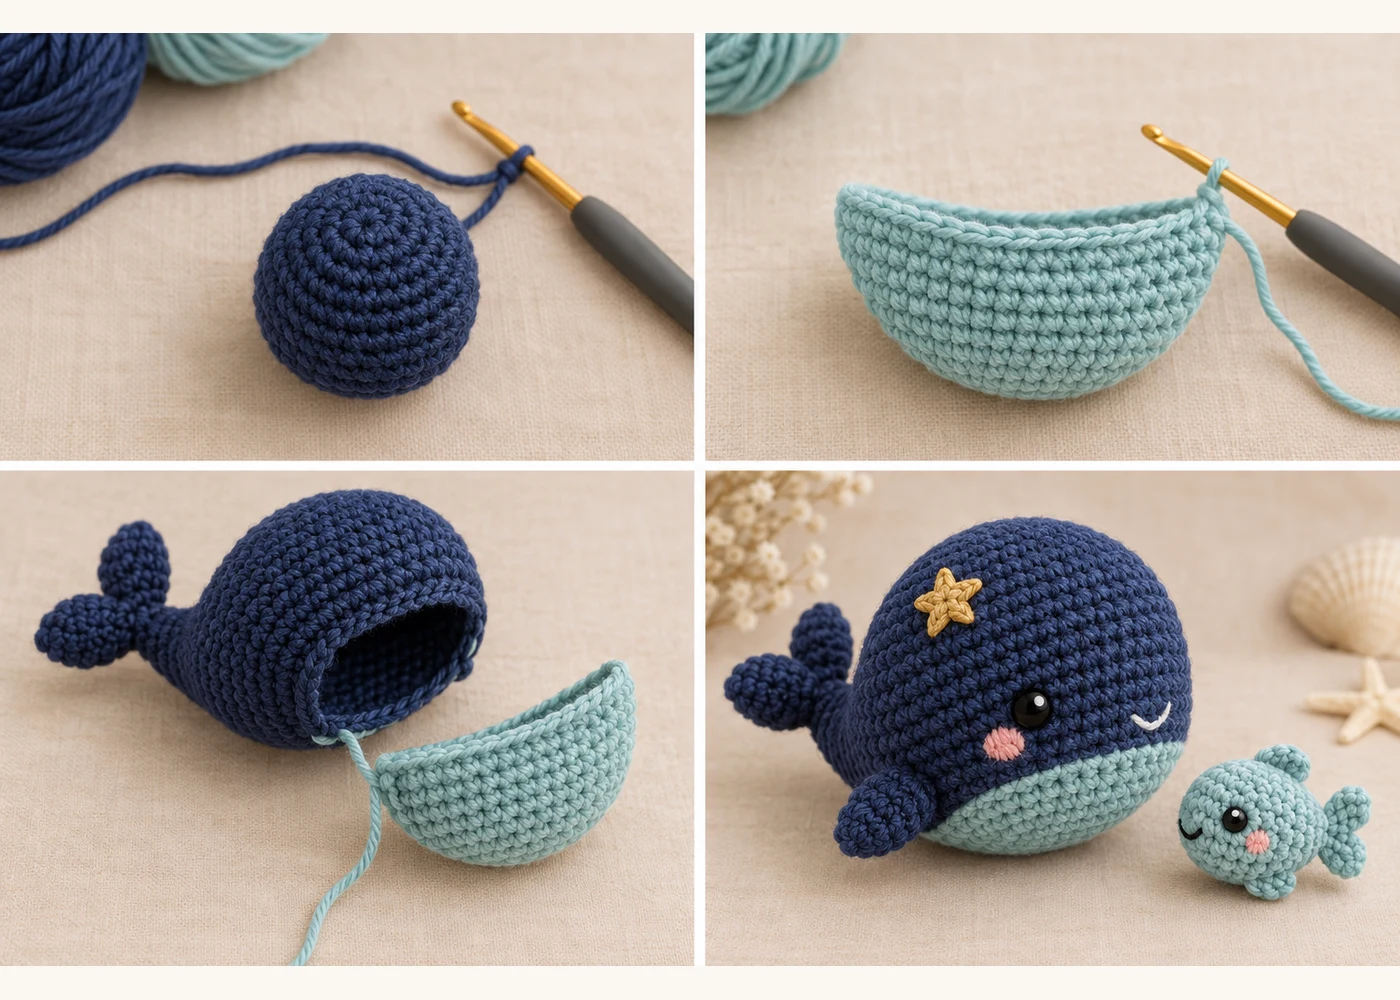
A cute 6" (15 cm) pocket whale amigurumi worked in soft navy with a pastel-teal belly, blush-embroidered cheeks and a tiny gold star appliqué. Includes a removable 1.5" baby fish that snaps into a hidden belly pocket and a small crocheted loop for a keyring or snap.
View pattern